Showing posts with label silhouette. Show all posts

6/16/11

re-purposing: Long sleeve shirt to soccer shirt

I know I am on a sewing, re-purposing kick lately!
But I am slowly trying to make my way through my stash!

This was a super easy way of taking a long sleeve shirt and making it into a short sleeve,
then I just added the soccer ball with my silhouette using heat transfer.


I think I paid $1.00 for these shirts at Walmart in the early spring!
I love to stock up when they are on clearance!

I cute the sleeves off where I wanted them to be.
Then I cut a strip off the top of both of the sleeves (the sleeves I just cut off)


fold in length wise and pin all the way around


Then I slid the circle part I just made on top of the sleeve with raw edges together!
Does that make sense???
a closer look!!
then sew all the way around the sleeve, and you can iron it down to give it a more crisp look!
Now you have short sleeves!!! Awesome!


Then I added the soccer ball using my silhouette and heat transfer.
For more info on the heat transfer you can follow my steps Here


The best part about it is she loves it!!!

6/1/11

More teacher gifts!

I finally got my kid's teacher gift finished yesterday!
Our last day is today....none too soon!

I think they turned out pretty cute!

I made them these personalized supply containers.
I got my idea from Here


I stuffed them full with random supplies...and chocolate is always an essential!!


Then I took this Father's Day idea that I got from Here
and turned it into a teacher gift!


This was actually my favorite!
It is more personal...I had the kids write some of their favorite things about their teachers!

Have a great day...the sun is shining!!! HOORAY!!

5/27/11

Super hero cape

Last week was my nephew's birthday and I wanted to make him something for it.
He, like all little boys, loves super hero's, so I thought I would make him a cape.
I already had some real nice heavy black fabric that I could use.

So, I went to work, and loved how it turned out!
So did my son (the model...by the way, he definitely needs modeling lessons, it was like pulling teeth to get these pictures!)


I found this awesome tutorial that I used over at Keeping it Simple!

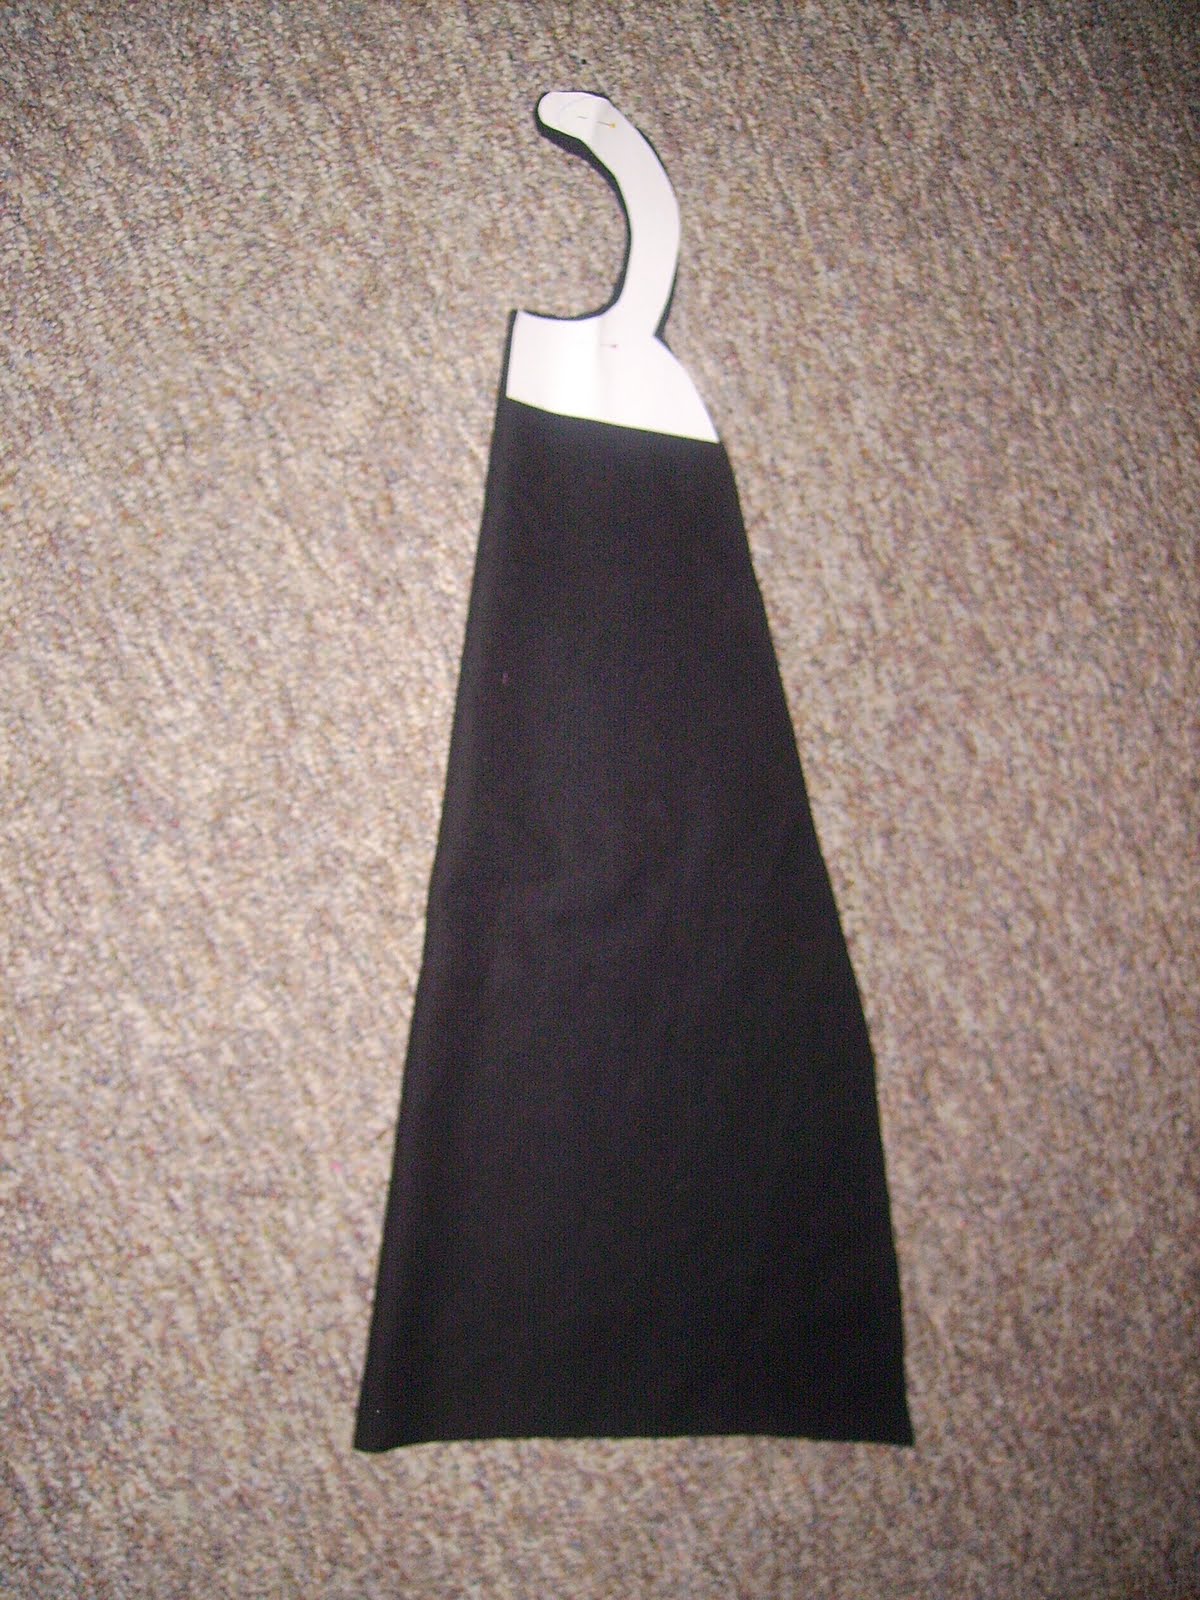
So I started with just drawing on some printer paper a pattern for the neck piece.

I measured my son's shoulders and made the pattern 1/2 of the distance between his shoulders, since the fabric will be folded in half.


I folded my fabric in half, and cut it out. Make sure you measure how long you want your cape to be.
I cut out two pieces, because I didn't want any fraying.


Pin your pieces together and sew all the way around, making sure you leave about 5 inches open to turn it right sides out.
Once you have it turned right sides out, sew up your open part.

Then I added some Velcro on the straps.


I used my silhouette for the L star figure. I used the white heat transfer paper.
Make sure you mirror your image before you cut it on your heat transfer paper.
To mirror your image, just right click on the image and it will bring up the mirror option.
Once you have cut your image, peel off any excess paper you don't want ironed on.
Then stick your image on your cape where you want it


Make sure you cover with a cloth and iron for about 1 minute.

Then let it cool and peel off your plastic adhesive.

Whalaaa!! You have a personalized cape!!1


My son thinks this is very cool!
I think I will be making one with an "M" in the middle for him very soon!!


Now if I could just get him to model better! :)

5/25/11

Rhinestone tutorial

As promised, I am going to demonstrate how to do rhinestones with my silhouette.

I ordered the starter kit, which had all the supplies to do this.

I cut my shape on my template material and then placed it on my backing board.


Now I took my nifty little brush that came in my starter kit and spread out the rhinestones.

As you move your brush around in a circle motion, the rhinestones will go in the little holes.


Once you have them all in the holes, just brush off any excess.

Take your sticky transfer tape and carefully place it over your design.
This is the trickiest part...you have to do it fast, but carefully!
Then lift up your transfer tape with your rhinestone design in place.


Then I place it on this shirt and covered it with a cloth and placed my iron on it for about a minute.
Then I would carefully lift up a corner and make sure all the rhinestones were sticking good.

And that is how it is done!!!

Super fun!

2/13/11

Window clings

I apologize for the pictures. It was really hard to get a good picture of a window, without it being too bright. So this is the best I could do.

I made my own window clings for Valentines Day! It was super easy, I just cut out the images with my silhouette using the self adhesive vinyl and stuck them on the window. It was as easy as that!


2/8/11

Valentine gifts

I know I have posted a lot of Valentine ideas, but I just keep getting more gift ideas!
I will have more tomorrow, so make sure you check back!
I hope you enjoy!


I cut out 4 gift boxes with my silhouette. Then I cut out hearts and tags with my silhouette also! I LOVE my silhouette! Totally worth the money, just saying!


I glued the boxes together and glued the hearts on.

Then I wrote my saying on my tags, which was:
"We were mint to be together"


I thought these York peppermint patties were so cute how they are heart shaped.
And pink inside.
I stuffed these inside of the boxes and added some pink and white tulle. I think they turned out pretty cute!


Related Posts Plugin for WordPress, Blogger...