6/3/11

Batman Cape

Remember the super hero cape I made a couple of weeks ago for my nephew??
If not you can check it out Here

Well, my son really wanted a cape too, and he has some batman pjs that were missing a cape, so I decided to make one to fit them.


Here are the pajamas....minus the cape.


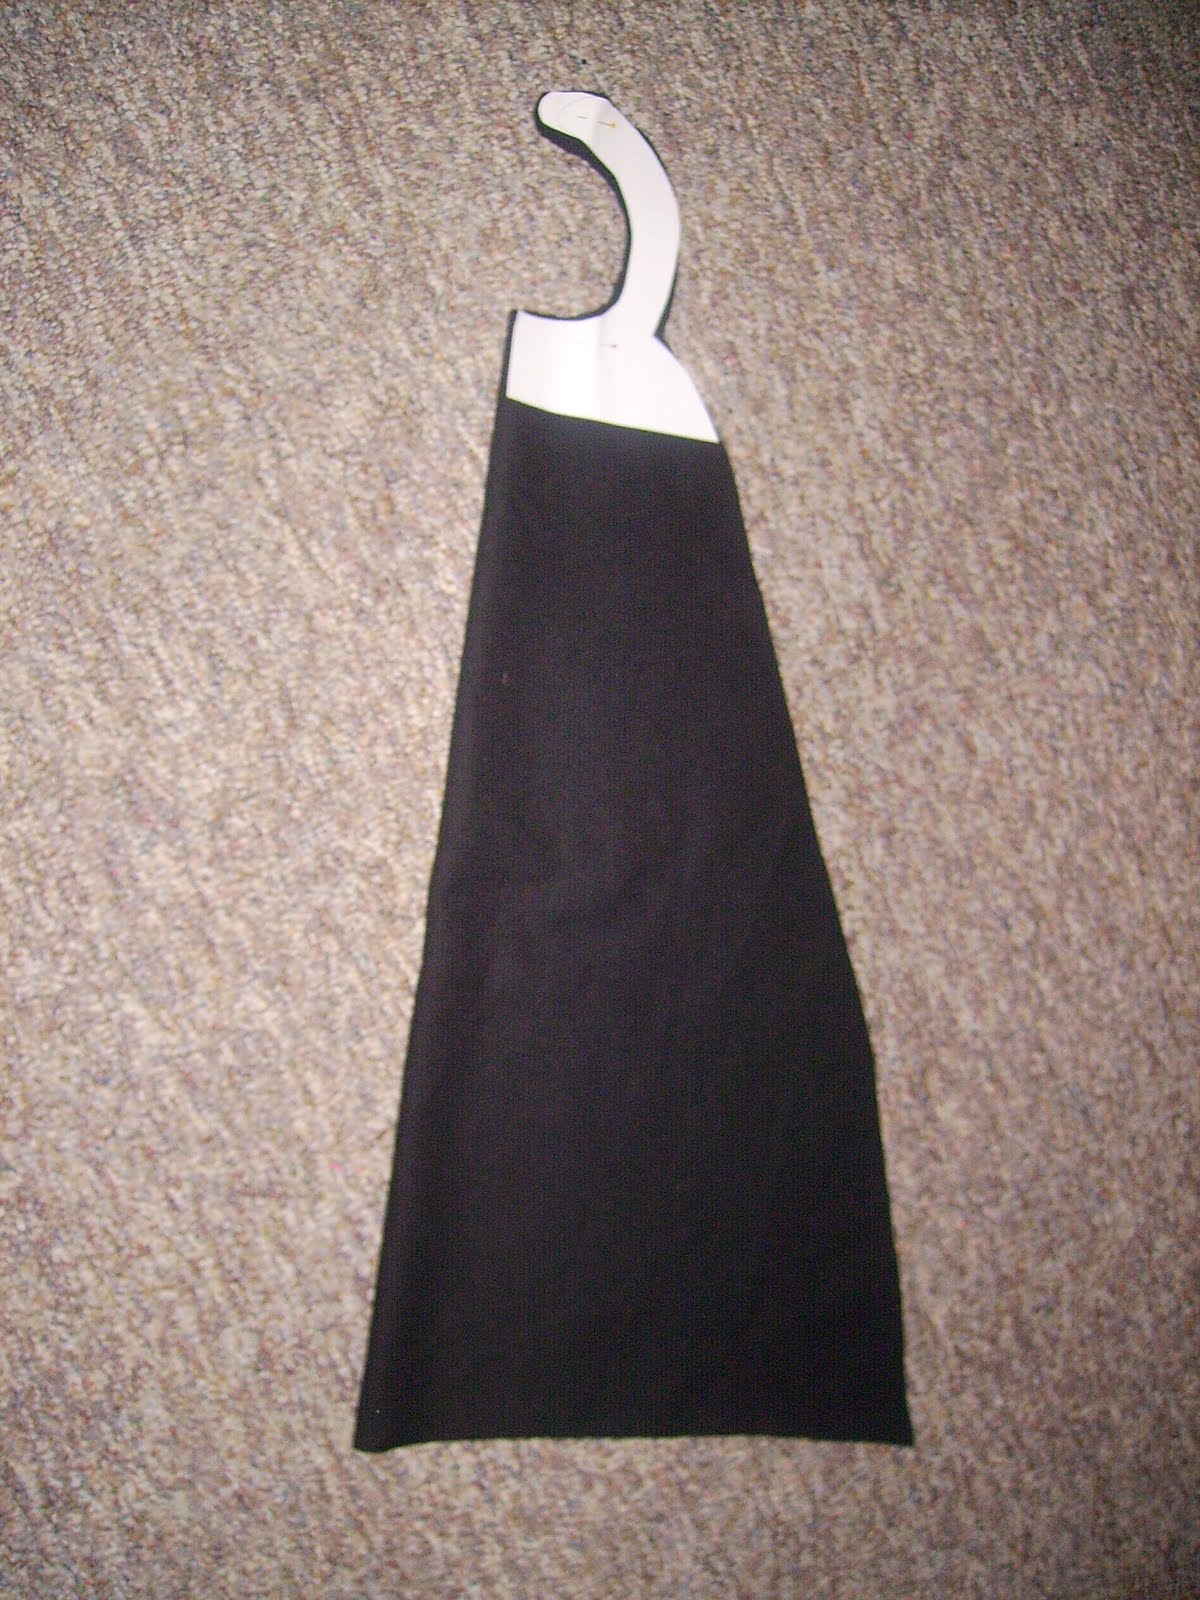
I took my material and laid it over the pjs marked where I wanted the cape to go.

Then I cut out two identical pieces and sewed them together...set aside.


I turned the pj's over and traced the bat onto some tracing paper and cut it out.


Then I pinned it to some black felt.
I chose felt because it doesn't fray
Then I cut out an oval out of yellow felt and sewed the black onto the yellow, and then I zig zagged the yellow onto the back of the cape.
Then add some Velcro onto the corners of the cape making sure it matches up to the Velcro on the pjs.


My baby actually loved it as well.

I took a piece of black ribbon and added some velcro to it, so they can still wear the cape without the pjs.


A super easy batman cape!!!


Makes a happy little boy!!!

6/2/11

6/1/11

More teacher gifts!

I finally got my kid's teacher gift finished yesterday!
Our last day is today....none too soon!

I think they turned out pretty cute!

I made them these personalized supply containers.
I got my idea from Here


I stuffed them full with random supplies...and chocolate is always an essential!!


Then I took this Father's Day idea that I got from Here
and turned it into a teacher gift!


This was actually my favorite!
It is more personal...I had the kids write some of their favorite things about their teachers!

Have a great day...the sun is shining!!! HOORAY!!

5/31/11

End of the year teacher ideas!

Many of you are probably out of school already, but we get out tomorrow.
So, I thought I would share some cute ideas that I have come across.

I will be posting my idea soon!!!

I love the chalk board paint on a Terra cotta pot!!
source


These tiles are super cute!
source


I was totally tricked into thinking this was a real cupcake....but it isn't!!
source

I love these fabric bookmarks!!
source


This is soooo adorable...and who doesn't like pie in a jar!!!
source

Check them all out, they are so cute!!

5/28/11

Memorial day weekend!

One of my favorite places to browse around is over at the Silhouette blog!
It has the BEST ideas! I love it.

They posted this awesome idea for a Mother's Day idea, but when I ran onto it I couldn't help but think it would be perfect for a loved one on memorial day!

I only wish I had a picture like this of my dad and myself.
I will have to start digging for a cute picture I could use!
I lost my dad a year ago, and miss him very much!

I just love this picture and the message it gives!
My parents have done so much for me!

I will never forget!!


You can find this tutorial Here

Have a great Memorial Day weekend!
I am going to be visiting graves and spending time with family!

I will be back Tuesday!!

5/27/11

Super hero cape

Last week was my nephew's birthday and I wanted to make him something for it.
He, like all little boys, loves super hero's, so I thought I would make him a cape.
I already had some real nice heavy black fabric that I could use.

So, I went to work, and loved how it turned out!
So did my son (the model...by the way, he definitely needs modeling lessons, it was like pulling teeth to get these pictures!)


I found this awesome tutorial that I used over at Keeping it Simple!

So I started with just drawing on some printer paper a pattern for the neck piece.

I measured my son's shoulders and made the pattern 1/2 of the distance between his shoulders, since the fabric will be folded in half.


I folded my fabric in half, and cut it out. Make sure you measure how long you want your cape to be.
I cut out two pieces, because I didn't want any fraying.


Pin your pieces together and sew all the way around, making sure you leave about 5 inches open to turn it right sides out.
Once you have it turned right sides out, sew up your open part.

Then I added some Velcro on the straps.


I used my silhouette for the L star figure. I used the white heat transfer paper.
Make sure you mirror your image before you cut it on your heat transfer paper.
To mirror your image, just right click on the image and it will bring up the mirror option.
Once you have cut your image, peel off any excess paper you don't want ironed on.
Then stick your image on your cape where you want it


Make sure you cover with a cloth and iron for about 1 minute.

Then let it cool and peel off your plastic adhesive.

Whalaaa!! You have a personalized cape!!1


My son thinks this is very cool!
I think I will be making one with an "M" in the middle for him very soon!!


Now if I could just get him to model better! :)

5/26/11

Re-purposing: Turtle neck shirt to dress tutorial


Today I am going to show you how I took an old turtle neck shirt of mine and turned it into a dress for my daughter.

So, if you have an old shirt and would like to give it a try....grab it and give it a shot!!

It is so fun to take something old and make something new!!


I forgot to take a picture before I started this lovely project many months ago, so it is already attached to the bottom, but you get the idea what it looks like!

Just a normal shirt...right?


I started off by cutting off the turtle neck part, leaving about 1/4 of an inch.


Then from the part that I cut off, I took it and folded the ends in and iron flat.


Then fold again and iron flat

Then I pinned it all the way around the neckline and sewed it with a straight stitch.


Now for the sleeves, I wanted to add something to the boring old sleeve.

I marked with a pin where the middle of the sleeve was.


Then to get the gathered look, I sewed a large straight stitch about 5 inches up.
(Make sure you don't back stitch on either end)

Then take your top thread and gently pull and it will gather as you pull.

Then when you get it as ruffled as you want, I tied off the strings, or you can sew on top of the gathered part to keep it in place.


Now for the bottom part, I took my material and hemmed up all the sides.

At the top I also did a gathering stitch and then attached it to the shirt.

Here is a great tutorial on this part!

After you sew the two pieces together it should look like this.
Then I added a waistband to it with left over material.


What a great way to use an old shirt!!!
Give it a try...you will be glad you did!

Related Posts Plugin for WordPress, Blogger...