3/31/11

Care bear birthday party ideas

Are you sick of the care bear and rainbow stuff yet??
I promise...this is the last day of it!!

It was just so much fun!!

This is the table decorations!
For the center piece, I used different colored wrapping paper, and then used the party favors to hold the balloons down.

More decorations...

For the food, we served a rainbow fruit pizza, rainbow jello, and peanut butter and jelly sandwiches...I know...fancy!!!

The fruit pizza...one of my all time favorites!! It is sooo good!!
For the party favors, I did care bear stickers, teddy grahams, skittles, rainbow pull-a-part licorice, and more random colored candy!


All the kids enjoying some dinner!


The birthday girl!

After dinner, we painted their faces!

Then we did a care bear game, of pin the rainbow on the care bear's tummy.


It was a really fun party!

3/30/11

Rainbow tutu


As promised, I am going to share how to make this rainbow tutu!

They are so easy, so if you haven't tried this, you have got to!


I went to Joanns and picked out several different colors of tulle, and some elastic.

I measured my little one's waist and then sewed my elastic where I wanted it, making it a circle.

Then cut your tulle in strips, mine were 36 inches long, but it totally depends on how long you want to make it.

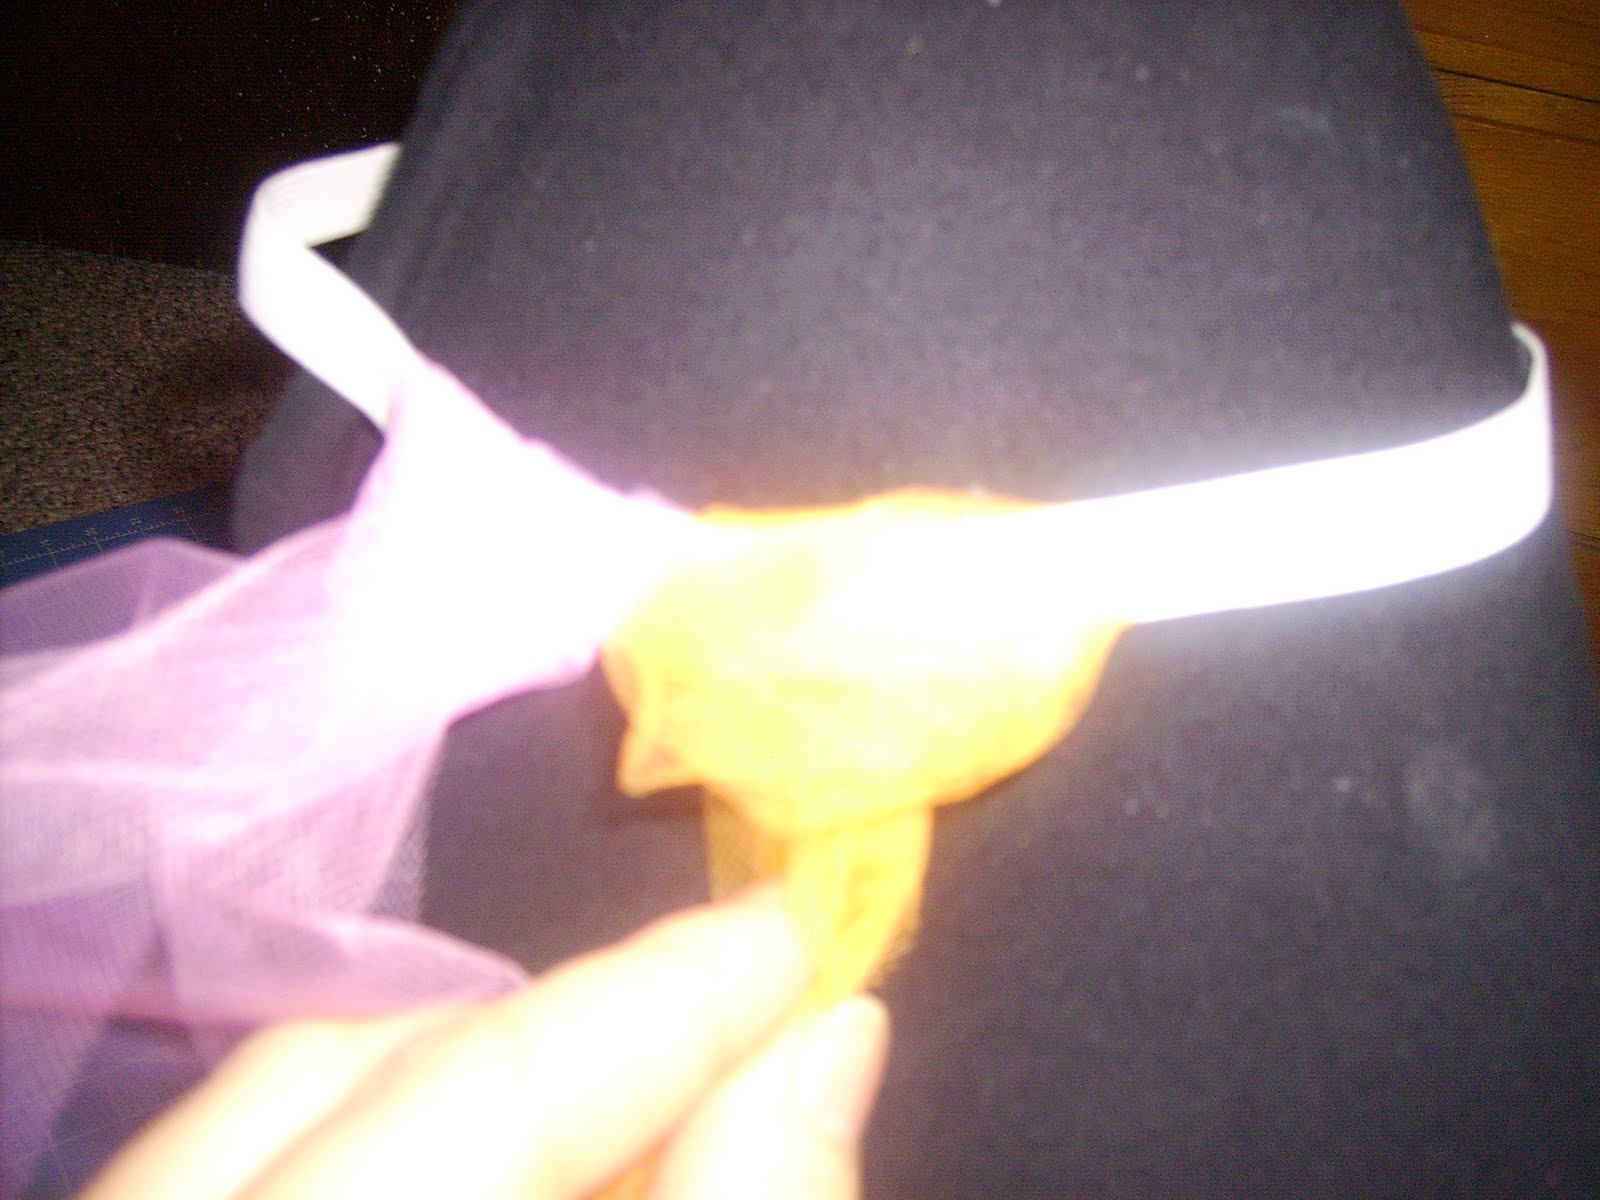
I am so sorry about these horrible pictures...that is what happens when you are trying to demonstrate something that really needs 2 hands, and you are your own photographer.

Anyway, hopefully you can tell what I am demonstrating.

I took my tulle and folded it in half and made a loop on the end.
I tucked it under the elastic

I really apologize for this picture....it is sooo bright!!!

Then take the loop and pull in down, over the elastic, and loop the part of tulle hanging down back through the loop.
(Clear as mud???)

pull it tight, and continue doing this all the way around your elastic.

Oh, by the way, that big black thing is my knee. That was the best thing I could think of to hang my elastic on!!

And that is all you do...it is seriously so easy, I hope you can understand my directions, and see through the horrible pictures!

3/29/11

Rainbow glitter shirt

Today I wanted to show how to make these cute glitter shirts.
It worked super good, and it turned out so cute!!

I got the idea Here

I just took a plain white shirt that we had in the closet.


Make sure you put some card board in, to prevent anything leaking through.

You can use freezer paper, but I just used some self-adhesive vinyl, and cut out my design with my silhouette.
So I took the first part of the rainbow and placed the vinyl where I wanted it.

Then I took some E-6000 and a paintbrush and went to work!!
After you spread the glue thoroughly on, take your glitter and apply it to the glue.
Then over a garbage can shake any excess off.

Keep doing the same thing, through all the colors you want

This is such a fun idea, and you could do just about any shape you want. It would be super cute to do some eggs for Easter, a flag for the 4th of July, or a tree for Christmas.....possibilities are endless!!!!


Make sure that you turn it inside out when you wash it, and I accidentally dried mine, and it actually came out just fine!!! But be more cautious than I was!!


Tomorrow I am going to share the tutu tutorial!!!

3/28/11

Rainbow birthday cake

This week I wanted to show some fun ideas for Birthday parties.

If you want ideas for a puppy party, check out my post Here

So today, I wanted to show how to make a rainbow cake!
My daughter wanted a care bear theme, but care bears are super hard to find these days, so I went a lot with the rainbow them.


For this cake, I took two white cake mixes and followed the box instructions.
Then I spooned the batter into 6 different bowls.
Then with food coloring make each bowl a different color of the rainbow.
(I wish I would have taken a picture, but it was a crazy day)

Then one by one, I baked each color and then frosted in between each layer.

It was time consuming, but it turned out really good!

And it made my daughter super happy!

Tomorrow, I will show how I made her cute rainbow outfit!


3/26/11

"I can do hard things" plaque

My husband's best friend from high school and his wife just recently found out that their sweet little girl, Paige, has a brain tumor. They are in Salt Lake City at Primary Children's Medical Center with her and will be there until December giving her chemotherapy. I have been so sad for them and praying a ton, hoping there baby can be strong and get through this. We recently went to a fundraiser for them, that went really well. I wanted to make them something that might help get them through this hard time. I came up with this:

I love this saying....it has helped me through some hard times.

This is what it looks like all wrapped up as a gift.

I printed my picture at Costco, and got the plaque at Walmart.

All you need to do is paint around the edges and the back of it. Let it completely dry.

When it is dry glue your picture on the board

Then with a finger that has no glue on it make sure that you press it completely flat with no bubbles. I just kept running my fingers over it for a couple of minutes.

Then use a mini roller to mod podge the top of the picture. I like the look of the roller over a brush, but you can use a brush as well.

Make sure that you get the sides as well.

Then I added the vinyl saying that I wanted, and then mod podge over the whole thing again.

Then I hot glued some ribbon on the back for it to hang.

And added a bow

I absolutely love how it turned out! I want one for myself. One thing that I have learned is that we all go through hard times, but we can get through anything with the help of our Heavenly Father. We can all do hard things. I wish the best of luck to Paige and we will keep her in our prayers!

3/25/11

Winner of the second giveaway....

So I thought I would be nice and give away the other spring decoration!

So, winner of the Spring version is.....

Jen


Congratulations!!! If you would email me at trinajo5@hotmail.com with your address I will get this in the mail for you!!!

Thanks again for all the entries!


Another chance to win!!!

Okay, so I decided to give both of my spring decorations away today! So it is your last chance to enter Here.

I have to run to the dentist, so I will be announcing the second winner this afternoon!

So exciting....and congratulations to Tiffani for winning the first giveaway this morning!!!

And the winner for the giveaway is......

The winner of the giveaway is....

Tiffani Tarbet


I used Random.org to pick the winner, but I could not get it to appear on my post....I do crafts, not computers....

So if you are Tiffani Tarbet, email me and give me your address, and I will send your choice of the spring or Easter version to you!

Thanks for all who entered....I wish I could send one to all of you!!

I love all my followers!!

This was super fun, I will do another one when I reach 200 followers!!


3/24/11

Giveaway reminder!

Last chance reminder for my giveaway! If you would like me to ship your favorite one to your door, hurry and enter my giveaway Here!

I will be announcing the winner 1st thing in the morning!


A special thanks to all of my followers! I love you all!!!
Related Posts Plugin for WordPress, Blogger...